Quickstart
Follow this tutorial if you’re using the Skaffold standalone binary. It walks through running Skaffold on a small Kubernetes app built with Docker inside minikube and deployed with kubectl.
Note
If you are looking to generate a new project templated to use Skaffold best-practices and features, see the Google Cloud Solutions Template.Note
Aside fromDocker and kubectl, Skaffold also supports a variety of other tools
and workflows; see Tutorials for
more information.
In this quickstart, you will:
- Use skaffold init to bootstrap your Skaffold config.
- Use skaffold dev to automatically build and deploy your application when your code changes.
- Use skaffold build and skaffold test to tag, push, and test your container images.
- Use skaffold render and skaffold apply to generate and deploy Kubernetes manifests as part of a GitOps workflow.
Set up
Install Skaffold, minikube, and kubectl
This tutorial requires Skaffold, minikube, and kubectl.
This tutorial uses minikube because Skaffold knows how to build the app using the Docker daemon hosted inside minikube. This means we don’t need a registry to host the app’s container images.
Clone the sample app
Let’s get a sample application set up to use Skaffold.
-
Clone the Skaffold repository:
git clone https://github.com/GoogleContainerTools/skaffold -
Change to the
examples/buildpacks-node-tutorialdirectory.cd skaffold/examples/buildpacks-node-tutorial
Initialize Skaffold
Your working directory is the application directory, skaffold/examples/buildpacks-node-tutorial. This will be our root Skaffold directory.
This sample application is written in Node, but Skaffold is language-agnostic and works with any containerized application.
Bootstrap Skaffold configuration
-
Run the following command to generate a
skaffold.yamlconfig file:skaffold init -
When prompted to choose the builder, press enter to accept the default selection.
-
When asked which builders you would like to create Kubernetes resources for, press enter to accept the default selection.
-
When asked if you want to write this configuration to skaffold.yaml, type “y” for yes.
-
Open your new skaffold.yaml, generated at
skaffold/examples/buildpacks-node-tutorial/skaffold.yaml. All of your Skaffold configuration lives in this file. We will go into more detail about how it works in later steps.
Use Skaffold for continuous development
Skaffold speeds up your development loop by automatically building and deploying the application whenever your code changes.
Start minikube
-
To see this in action, let’s start up minikube so Skaffold has a cluster to run your application.
minikube start --profile custom
skaffold config set --global local-cluster true
eval $(minikube -p custom docker-env)
This may take several minutes.
Use skaffold dev
-
Run the following command to begin using Skaffold for continuous development:
skaffold devNotice how Skaffold automatically builds and deploys your application. You should see the following application output in your terminal:
Example app listening on port 3000!To browse to the web page, open a new terminal and run:
minikube tunnel -p customNow open your browser at
http://localhost:3000. This displays the content ofpublic/index.htmlfile.Skaffold is now watching for any file changes, and will rebuild your application automatically. Let’s see this in action.
-
Open
skaffold/examples/buildpacks-node-tutorial/src/index.jsand change line 10 to the following:app.listen(port, () => console.log(`Example app listening on port ${port}! This is version 2.`))Notice how Skaffold automatically hot reloads your code changes to your application running in minikube, intelligently syncing only the file you changed. Your application is now automatically deployed with the changes you made, as it prints the following to your terminal:
Example app listening on port 3000! This is version 2.
Exit dev mode
-
Let’s stop continuous dev mode by pressing the following keys in your terminal:
Ctrl+CSkaffold will clean up all deployed artifacts and end dev mode.
Use Skaffold for continuous integration
While Skaffold shines for continuous development, it can also be used for continuous integration (CI). Let’s use Skaffold to build and test a container image.
Build an image
Your CI pipelines can run skaffold build to build, tag, and push your container images to a registry.
-
Try this out by running the following command:
export STATE=$(git rev-list -1 HEAD --abbrev-commit)
skaffold build --file-output build-$STATE.json
Skaffold writes the output of the build to a JSON file, which we’ll pass to our continuous delivery (CD) process in the next step.
Test an image
Skaffold can also run tests against your images before deploying them. Let’s try this out by creating a simple custom test.
-
Open your
skaffold.yamltest: - image: skaffold-buildpacks-node custom: - command: echo This is a custom test commmand!Now you have a simple custom test set up that will run a bash command and await a successful response.
-
Run the following command to execute this test with Skaffold:
skaffold test --build-artifacts build-$STATE.json
Use Skaffold for continuous delivery
Let’s learn how Skaffold can handle continuous delivery (CD).
Deploy in a single step
-
For simple deployments, run
skaffold deploy:skaffold deploy -a build-$STATE.jsonSkaffold hydrates your Kubernetes manifest with the image you built and tagged in the previous step, and deploys the application.
Render and apply in separate steps
For GitOps delivery workflows, you may want to decompose your deployments into separate render and apply phases. That way, you can commit your hydrated Kubernetes manifests to source control before they are applied.
-
Run the following command to render a hydrated manifest:
skaffold render -a build-$STATE.json --output render.yaml --digest-source localOpen
skaffold/examples/buildpacks-node-tutorial/render.yamlto check out the hydrated manifest. -
Next, run the following command to apply your hydrated manifest:
skaffold apply render.yaml
You have now successfully deployed your application in two ways.
Congratulations, you successfully deployed with Skaffold!
You have learned how to use Skaffold for continuous development, integration, and delivery.
Follow these quickstart guides if you’re using Skaffold with the Cloud Code IDE extensions:
Cloud Code for VSCode
Create, locally develop, debug, and run a Kubernetes application with Cloud Code for VSCode.
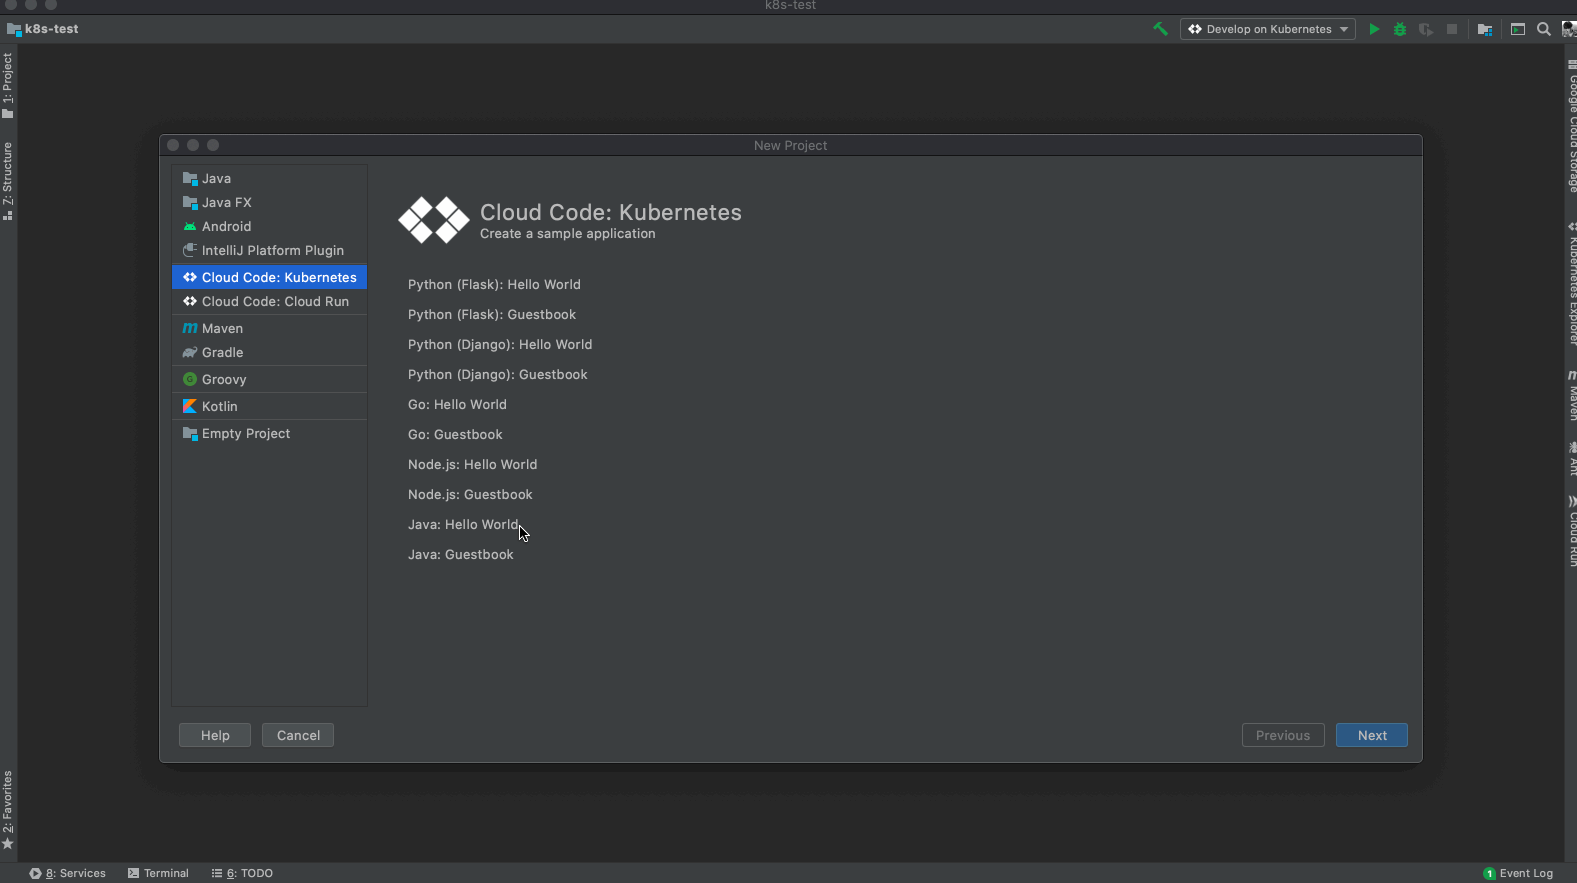
Cloud Code for IntelliJ
Create, locally develop, debug, and run a Kubernetes application with Cloud Code for IntelliJ.
Skip any setup by using Google Cloud Platform’s Cloud Shell, which provides a browser-based terminal/CLI and editor. Cloud Shell comes with Skaffold, Minikube, and Docker pre-installed, and is free (requires a Google Account).

What’s next
For getting started with your project, see the Getting Started With Your Project workflow.
For more in-depth topics of Skaffold, explore Configuration, Skaffold Pipeline, and Architecture and Design.
To learn more about how Skaffold builds, tags, and deploys your app, see the How-to Guides on using Builders, Taggers, and Deployers.
Skaffold Tutorials details some of the common use cases of Skaffold.
Questions? See our Community section for ways to get in touch.
📣 Please fill out our quick 5-question survey to tell us how satisfied you are with Skaffold, and what improvements we should make. Thank you! 👯♀️